PRACTICAL HOW TO VIDEOS
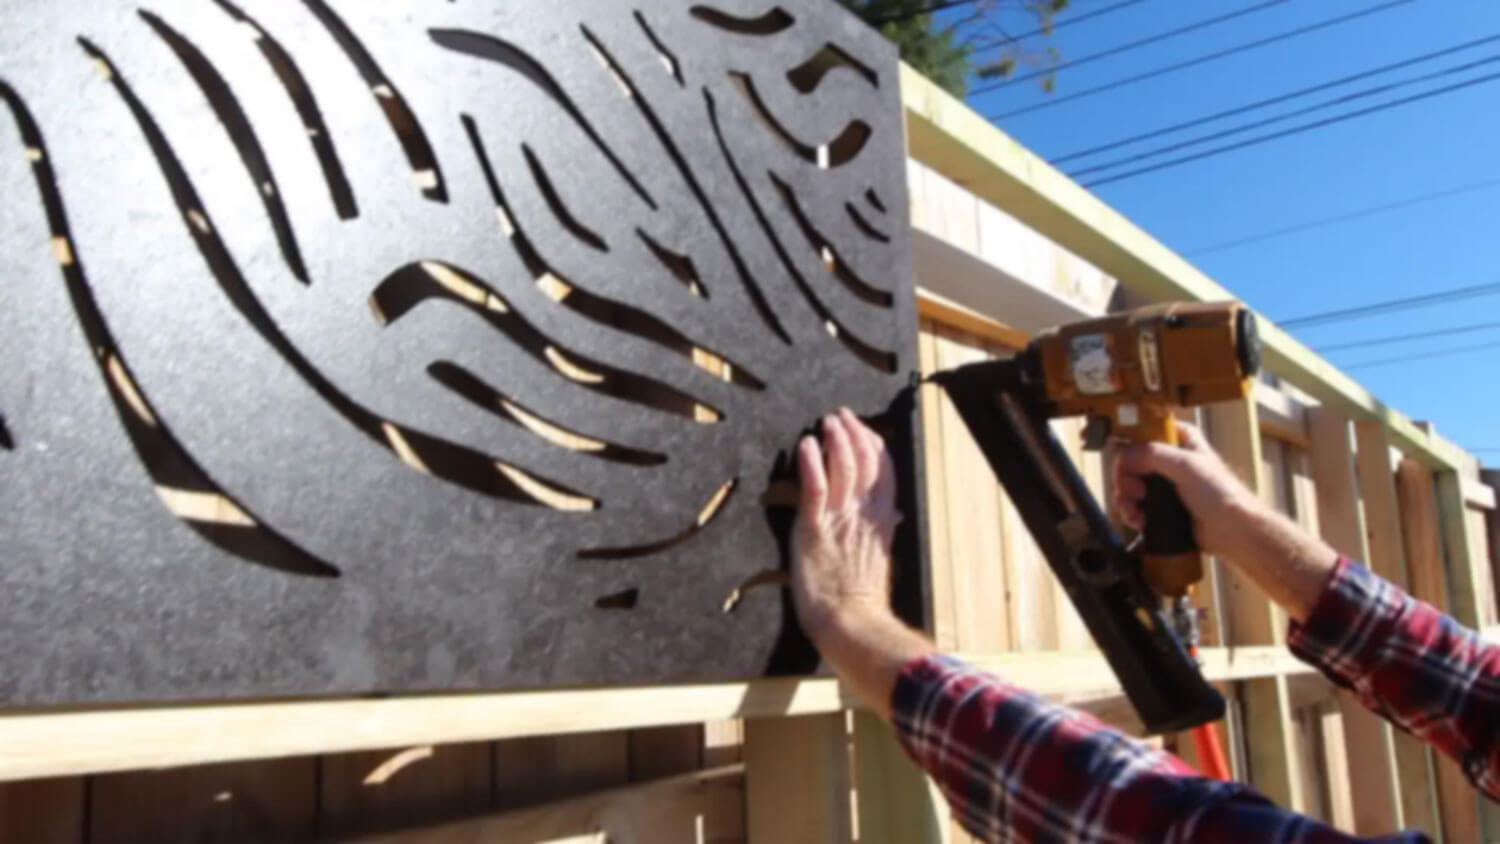
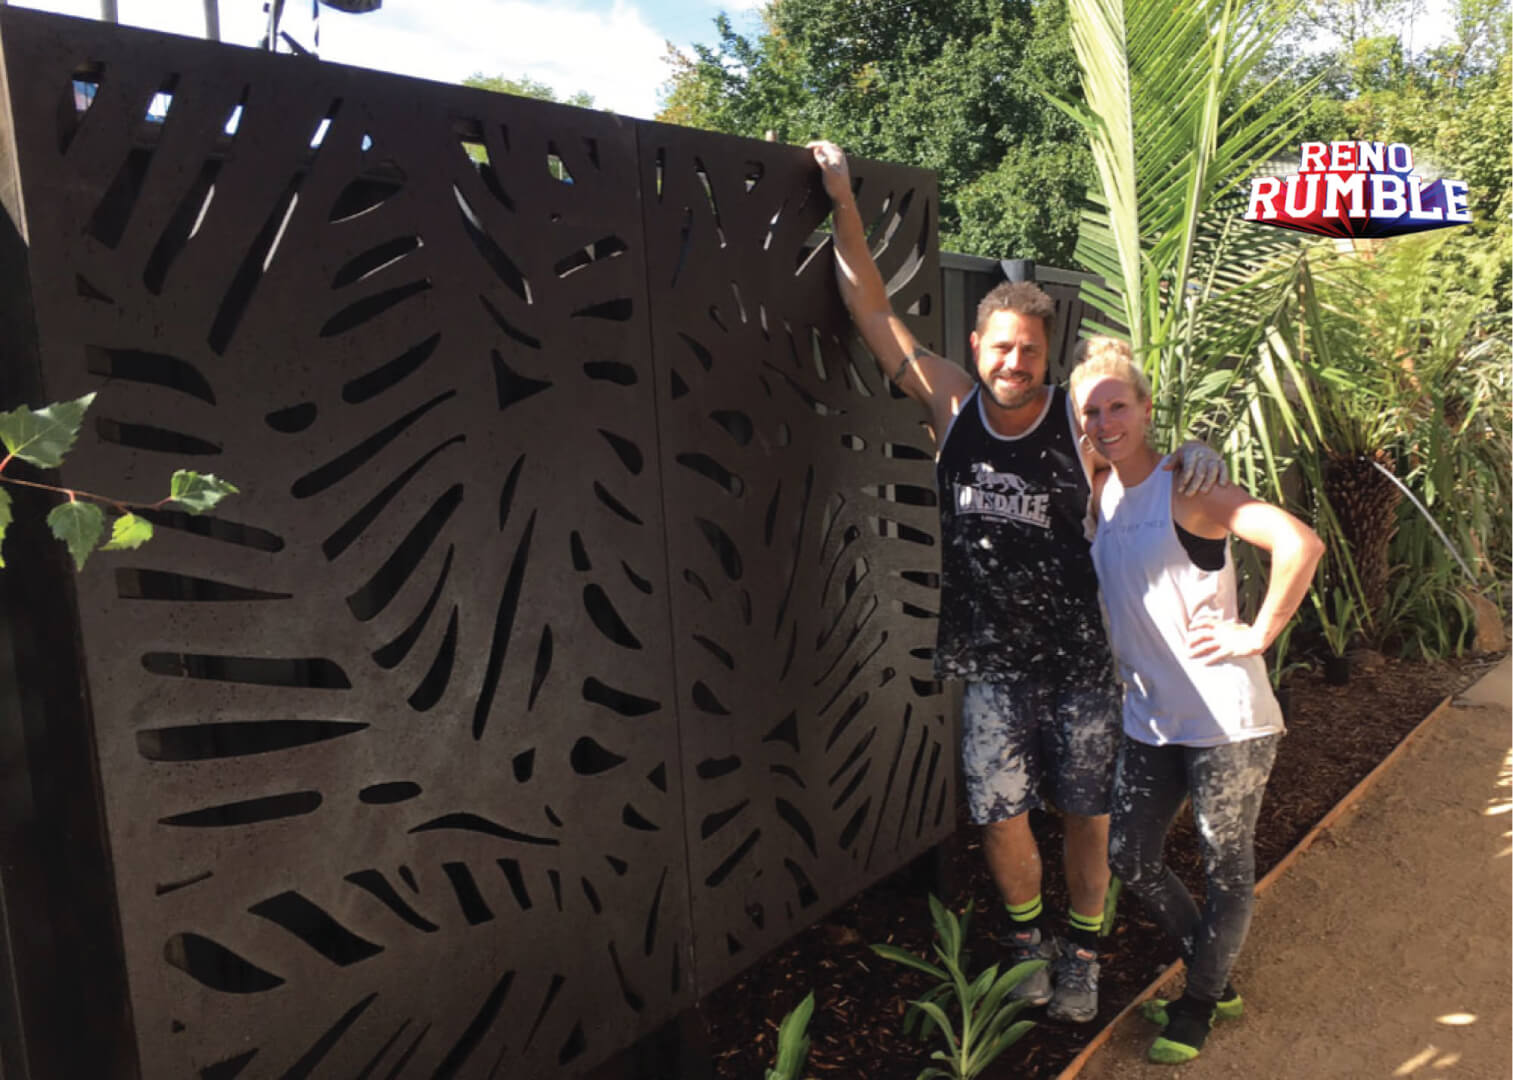
Watch Channel 10’s “The Home Team” install screens on a side fence
Watch a stop motion of a Wooloomai Installation in a common paling fence application.
See the Garden Gurus review OUTDECO Gardenscreen
give your backyard a makeover,
with ready-to-install screen panels!
Whether it’s a decadent screen wall feature, a side wall for your patio or deck area, a grand entrance, a fence feature to fill the hole where the hedge died, or where the neighbours built that 2-storey extension, Garden Screen™ project panels open up a multitude of DIY projects to you.
easy paint or leave natural
PAINTABLE TO A RAINBOW OF OPTIONS FOR YOUR BACKYARD
Garden Screen™ screens are versatile to any colour palette you want. Being a timber-based product, they can be painted with a multitude of outdoor finishes. We recommend most waterbased products designed for timber, like for example Dulux Weathershield, or for a rich stained timber look, Cabots Merbau Deck Stain.
PAINTING NOT REQUIRED!
It may be assumed, by discussion of painting options that the material needs paint or sealing to protect it in outdoor conditions. This unique Australian material does not require painting to protect the material integrity from run-off precipitation (rain) when installed on a sound vertical structure. We offer a 10 year warranty on material degradation (rot, bloat, delamination).
NATURAL RUSTIC LOOK
However the natural tannins (pigments) in the surface will fade during UV exposure. For some users this is a desired ‘rustic’ finish, in the same way many contemporary architects deliberately allow hardwood timber features to naturally grey or ‘silver’. If you are using the screens in conjunction with hardwoods you can let it all weather and tone in and age gracefully!
STAINS & NATURAL LOOK
A note about stains. You can use any product you like, even clear products, but the pigments in a stain colour like Merbau will help to enrich the natural colour, but also help to block UV further. A product like this will hold the rich timber-fibre texture for longer reducing maintenance. Maintenance for this look maybe similar to a decking hardwood timber, however it is more dimensionally stable than virgin hardwood, and doesn’t have splitting grain etc, so can actually outlast timbers.
MICRO-LINISHED SURFACE READY-TO-PAINT
For the ease and safety of either raw exposure or DIY coating, the board is micro-linished giving you the best physical surface preparation for bonding water-based paints and stains.
APPLICATION TECHNIQUES
The screens can be painted by any means, with brush, roller or spraygun.
A spraygun maybe the most efficient application. Spray should be directed at 45 degree angles in alternating directions to pickup edges, and spray lighter coats from many directions,to minimise build-up in one area.
You can also use a paint roller to effectively coat especially if you’re using one side as the predominant visual face. Use a short-medium nap roller and make sure the roller is not too wet when applying. Several light coats maybe better than one heavy coat to minimise drips on the cut-outs. Cleanup excess drips on edges after each coat.
A brush will also do the job, however you should apply with a drop sheet underneath, and be diligent to cleanup excess drips on cut-out details as you go.
easy fix
FIX AT 300mm INTERVALS AROUND THE BORDER OF EACH PANEL
Use timber screws, nails or (in the case where you fix to a metal frame like RHS) pop-rivets. For reference, each panel ways 4-5kg.
NAILS
Large brads or small nails in a nail gun can be carefully fired with a rubber stop, to leave inconspicuous pin hole fixings (head just on or below surface). Alternatively small nails can be used with a careful hammer. Pre-drill a slightly undersized hole first to neat locate your nail and prevent blistering or blowing the surface. Use galvanised nails.
SCREWS
Timber screws are the most mechanically sound fixing, and can be simple and neat. Predrill slightly oversized holes through the naturpanel, so you can neatly position the screws in centre of border, and so the screw does not force and blister the surface. When driving with a electric driver, drive the last part of the screw home gently, so the head pulls up tight to the surface, but doesn’t pull into the panel. You can use countersunk (like a decking screw) or a screw with a flat back of the head (like a button-head) used for fixing sheet metal or other materials. Use galvanised, stainless steel, or other outdoor grade.
CONSTRUCTION ADHESIVE
You can also use a construction adhesive like Sikaflex 11C, however in many applications it may require reinforcement of a physical fixing. Ensure raw material is exposed for bond and is clean and clear of dust, paint oil or water. Use a large bead (or double bead) to ensure maximum interfacing area, and mechanically fix or clamp whilst bonding.
For more specific scenarios, like fixing into an existing brickwall, Bunnings Warehouse have a broad range of specific fixings for your job.
easy frame
A WORLD OF OPPORTUNITIES
The frame or structure can be as simple or as sophisticated as you and your project requires. It can be as simple as fixing it to an existing structure, into a wall (anchoring into a wall requires consideration of the structure, brick, timber), or create a secondary light frame onto the structure (light treated pine batten or rectangular frame that fits to an existing wall or fence, or creating an independent structure out of timber or steel. In many instance it can be fixed into a purpose specific framework for a balustrade, pergola, gate panel, garage door, bench seat – you name it!
SEE FIXINGS – for details on how to fix your panels. For more specific scenarios, like fixing into an existing brick wall, Bunnings Warehouse have a broad range of specific fixings for your job.
FIX TO AN EXISTING BRICK WALL
Always be aware of what structural significance the wall has when considering fix to it. Is it a shared easement, or owned by your neighbour, is it in good health? What is it supporting? or what is supporting it? In most cases fixing small anchor fixings to a brick wall will have minimal impact on the wall itself but the structural nature, health of structure and easement or ownership of wall (on a boundary) may need consideration.
Fixings into the wall substrate require individual consideration of your scenario, and Bunnings Warehouse have a range of options. Each panel is 4-5kg. An expanding mechanical fixing like a dynabolt is a great option.
TIMBER BATTENS, STAND-OFFS
Most fixings for brick wall will require pre-marking, predrilling and fixing and can be difficult to get pinpoint accuracy, when drilling to into a hard masonry material. For this reason (especially if you are installing multiple panels, it can be advisable to install timber battens (along the 1200 edges) into the brick wall, then fix your panels to the battens. This will minimise the amount of fixings going into the wall, the final visual fixings into your panels are fixed timber-to-timber which is easy to place accurately or adjust if slightly wrong. The battens will also offset the panels off the wall giving you a floating shadow effect. This effect can also be created by using stand-off blocks or posts (used in applications like glass-panelling), but this will require more accuracy, effort and budget.
EXISTING STUDWALL, FENCE, SHED
If fixing against an existing skeletal structural, consider how flat and ‘true’ (square, level, sturdy and able to take extra loading) the structure is. You be able to use the batten approach as above being sure to fix into the studs or (structural members).
TREATED PINE FRAME
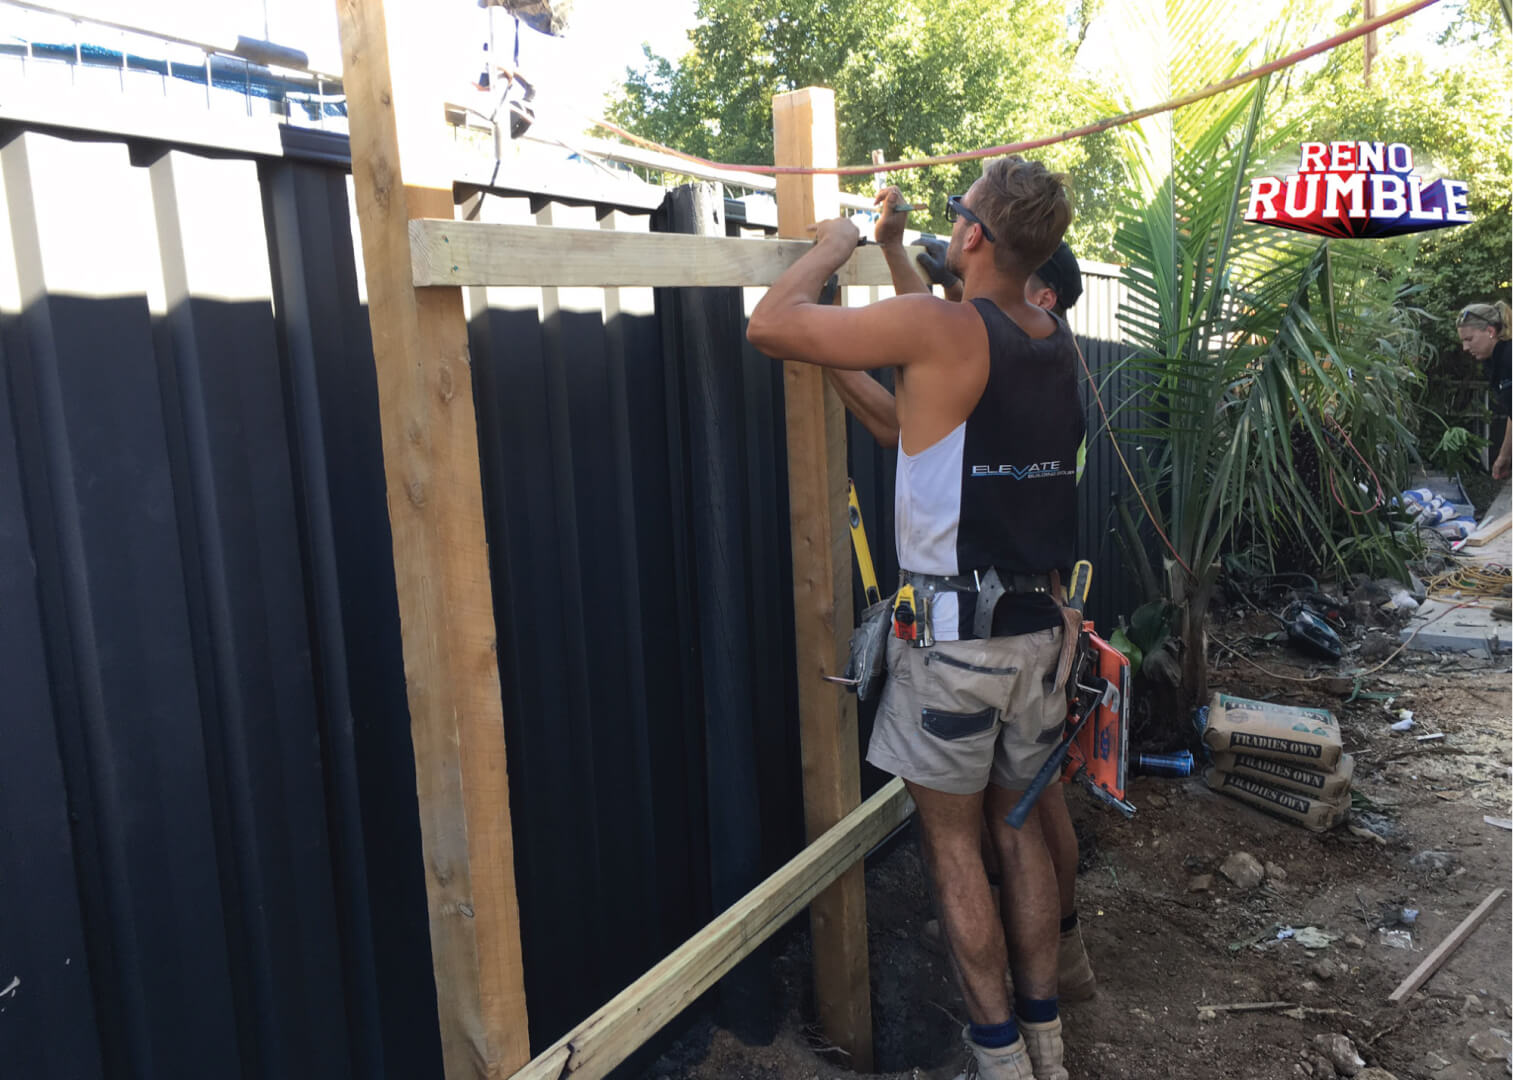
To get the sturdiest and most versatile solution, and finer visual result, building an independent frame maybe best. Create a ‘raft’ of vertical and horizontal members, with the external dimensions matching the panel edges, and the internal members following along the centreline of the panel joins, so you have area to fix the edge of each panel. If you make this up as an independent frame, you can do it on a flat surface, and lay the panels over to check dimensions and ‘square-ness’ as you go. We suggest allowing a 2mm expansion gap between each panel joint, so be sure to allow for this when planning out your cutting. This method allows you to focus on getting the panels, the frame and all your joints matching perfectly before you erect it and have gravity ‘fight you’. Once together get a helper and lift the frame into place, and get the entire piece level. This options allows you to nudge things around if it’s slightly off level, or you want to raise it higher or completely move it at a later date.
RHS FRAME, GATE FRAME, DOORS, BESPOKE FRAMES
You can use the same principles, but build the frame out of RHS (Rectangular hollow steel). This may give you a lighter, sturdier or more long-lasting frame. This option might also be employed if you or a specialist fabricator wants to fit them to a bespoke or off-the-shelf gate, garage door or other moving structure.
FREE-STANDING SCREEN WALL-FEATURE
A free-standing feature will need a frame similar to above, but you may choose to either use posts minimum 90x90mm posts as part of the frame, or create the frame, and set posts separately, and erect the frame onto the posts afterward. Post height, weight and footing requirements vary from project to project, so should be considered on an individual basis. Always be aware of any underground services and features before digging.
easy handling
Apart from the fact this size format is much sturdier and dimensionally stable than large panels under stress and constant atmospheric change, its just handy.
Pick one up and throw it under your arm, load them into your trolley, then into the car, then install it without a team of burly trademen! Each panel weighs approximately 4-5 kg (dependent on design).
suits any size job
1200x600mm PROJECT PANEL,
1800×600 LONG PANEL or
1800×1200 LARGE PANEL
The modular nature of the panels mean you can create an installation of any size, orientating and repeating the pattern as desired. Stacking them vertically you can create standard heights 600mm (for a retainer cladding, planterbox, bench seat or storage box), 1200mm yard fence or ballustrade height, 1800mm standard fence height, 2400mm (low ceiling height in a patio or pergola, or a reasonable fence extension) and 3000mm, a high ceiling or wall height for a shed or adjoining wall or building.
easy cut
CUT WITH CIRCULAR SAW, JIGSAW OR OTHER COMMON WOODWORK TOOLS AND TECHNIQUES
The project panels can be cut and machined in other ways using standard woodworking techniques and tools. The board is denser and harder than MDF and finer than chipboard, but will cut similarly. To cut a straight edge with a circular saw or jigsaw, mark and clamp a piece of straight timber along the line (allowing for inset distance of the blade to the guard plate) then push the saw along the timber edge using it as a fence. Consider where the line cuts through the pattern and where this cut is on your overall structure. If a structural member is behind the cut line, you can fix the varying open elements that have been cut back to the structure to maintain its strength, and if necessary you could finish this edge with a capping piece of decking timber or similar.
Warranty & Guidelines
10 YEAR EXTERIOR MATERIAL WARRANTY & Minimum Application Guidelines
•10 YEAR WARRANTY against material rot, bloat or delamination under
normal outdoor ‘run-off’ conditions. Screens mounted in vertical plain, not submerged/ constant contact with water, soil or chemicals. Installations are the responsibility of the the installer. Directions herein must be followed.
• Hardwood Exteriorboard product, performs similarly to timber decking timber. It is resistant to normal run-off weathering, but not suitable for applications where submerged or <100mm to ground or constant water
• Natural Tannin may release and go rusty or grey over time(similar to merbau) if left unsealed. Like natural timber products the panels may vary in colour and texture.
• Painting is not required, however for alternative colours and finishes, use outdoor paint or deck sealer products, and follow instructions or consult landscaping professional.
• Suggested minimum fixing 300 centres apart along border.
• Alternatively use a suitable construction adhesive for invisible fixing, or use a combination of the screw and adhesive eg. neat decking screw in each corner and adhesive around border.
• For best results measure, drawup, pre-drill position and clamp before/during fixing. Use 2mm spacers to create a consistent joint with expansion joint, to allow for natural movement of timber materials.
• 45mm nominal border to accomodate typical fixing and conceal 90mm post or support.
• This is versatile product and can be cut down and fabricated as per timber, however this is not a freestanding structural product.
• Installations are the responsibility of the installer. Material Warranty valid within Australia and New Zealand.
The benefits to the consumer given by this warranty are in addition to and not in conflict with all other rights and remedies of the consumer under a law in relation to the goods or services to which the warranty relates.


